Exposure compensation is a simple yet powerful tool in nature photography. Understanding how to use it effectively can help you capture better details and mood in your photos, ensuring your images reflect the natural world accurately.
What is exposure compensation?
Exposure compensation is a camera setting that allows you to adjust the exposure of your image without changing the basic settings like shutter speed, aperture, or ISO. Essentially, it lets you make your photo brighter or darker by tweaking the camera's exposure level.
Cameras automatically choose an exposure based on the lighting, but sometimes this automatic exposure can result in images that are too bright or too dark. Exposure compensation lets you override the camera’s decision, either lightening or darkening the image to suit your needs.
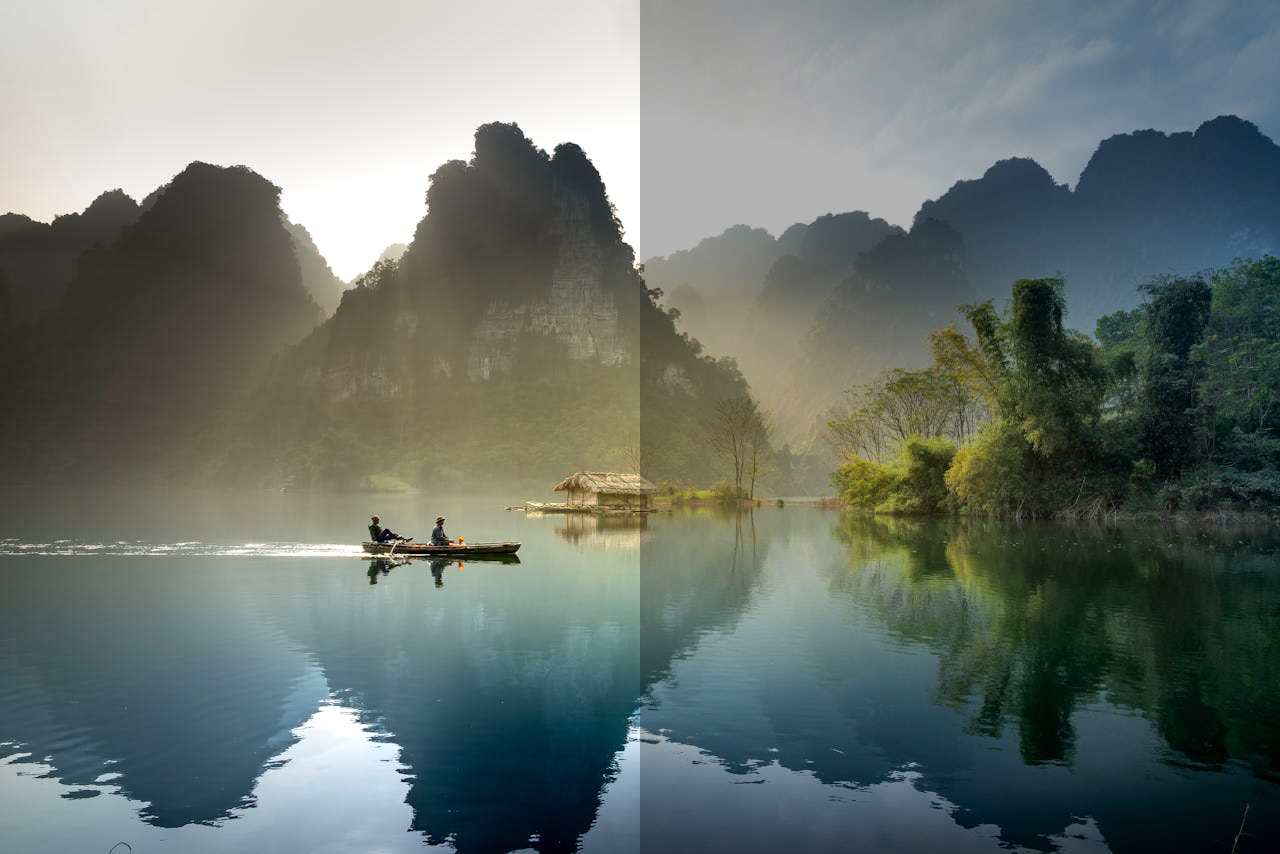
For example, if you’re photographing a bright scene, like a snow-covered field, your camera might try to make it too dark because it sees all that white and assumes it should adjust for brightness. With exposure compensation, you can increase the exposure to get the right balance, ensuring the snow stays bright and detailed.
On the other hand, if you’re photographing something very dark, like a black bear in a shaded forest, your camera might overexpose the shot, losing important details. Here, lowering the exposure will help bring out the darker features while keeping the overall image balanced.
This adjustment doesn’t affect the core exposure triangle (shutter speed, aperture, ISO), making it a quick and easy way to fine-tune your photos in tricky lighting conditions.
How to adjust exposure compensation
This feature is available on most cameras, making it easy to correct exposure without diving into complex settings. Here’s how you can adjust it step by step:
- Locate the exposure compensation control: Most cameras have a dedicated button, dial, or touchscreen option for exposure compensation. Look for a symbol like “+/-” on your camera body or in the menu. On DSLRs and mirrorless cameras, it’s often a physical button near the shutter or a rotating dial.
- Use the camera’s mode: Exposure compensation works in specific shooting modes, like aperture priority, shutter priority, or program mode. It doesn’t apply in full manual mode since you’re directly controlling all settings there. Make sure your camera is in a compatible mode before trying to adjust exposure compensation.
- Adjust the level: Once you’ve located the control, use the dial or buttons to adjust the exposure. Positive values (+1, +2) make the image brighter, while negative values (-1, -2) make it darker. Start with small changes, like +0.3 or -0.3, and review the result before making larger adjustments.
- Check the preview or histogram: Many modern cameras show a live preview of exposure changes on the screen or through the electronic viewfinder. Use this to see the effect of your adjustments in real time. Alternatively, check the histogram to ensure you’re not clipping highlights or shadows.
- Reset after each shot: Remember to reset the exposure compensation to zero when you’re done. Forgetting to do this can lead to incorrectly exposed images later when the lighting conditions change.
Spend time getting familiar with your camera’s layout so you can make quick adjustments without missing a moment. The more you practice, the more intuitive it will become to recognize when and how to use this tool to capture well-balanced images.
When to use exposure compensation
Here are some common situations where exposure compensation can make a big difference:
- Bright backgrounds: When photographing a subject against a bright sky or reflective water, your camera may underexpose the scene, making your subject too dark. Increasing the exposure compensation can help balance the light and bring out details in the subject.
- Dark environments: In shaded forests or caves, cameras tend to brighten the scene too much, leading to overexposed highlights and loss of texture in darker areas. Lowering the exposure compensation can preserve these details and keep the atmosphere true to the environment.
- High-contrast scenes: When there’s a mix of very bright and very dark areas, like sunlight breaking through a canopy or animals moving between light and shadow, your camera may struggle to find the right exposure. Exposure compensation allows you to prioritize the part of the scene that matters most to your composition.
- Snow or sand: Bright surfaces like snow or sand often confuse camera meters, causing the image to be underexposed and appear dull. Adding positive exposure compensation ensures these surfaces look vibrant and maintain their natural brightness.
- Golden hour and sunset shots: The soft, warm light of golden hour can sometimes lead to underexposed photos, especially when shadows dominate the scene. Slightly increasing exposure compensation can help capture the subtle tones without losing details.
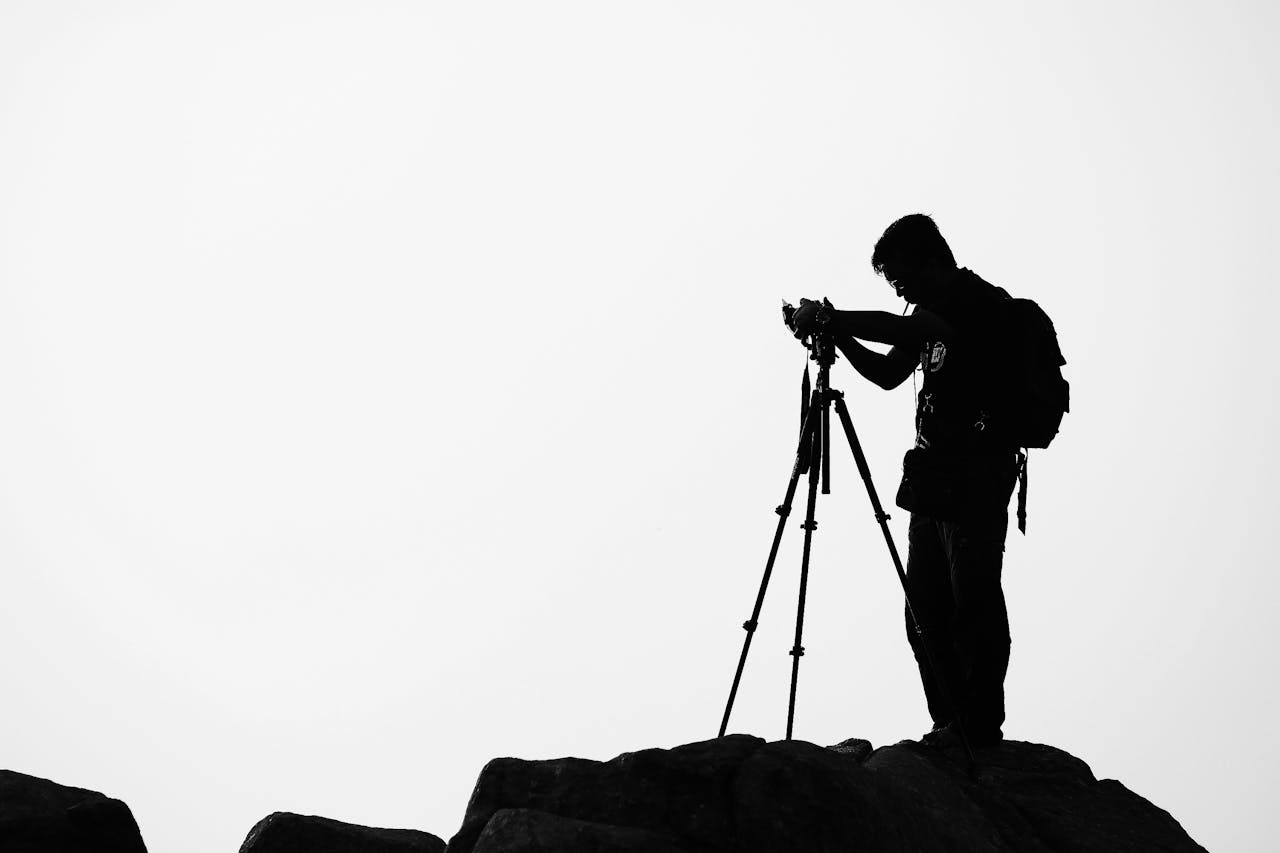
- Backlit subjects: When shooting subjects with the sun or another light source behind them, the camera may expose for the bright background, leaving your subject in silhouette. Adjusting exposure compensation upward can bring your subject out of the shadows.
Using exposure compensation effectively requires practice and observation. Pay attention to how light interacts with your subject and the environment, and experiment with small adjustments to see what works best. Over time, you’ll develop an instinct for recognizing when your camera’s auto settings need fine-tuning.
Common mistakes to avoid
One common mistake is overusing exposure compensation. While it’s a powerful tool, making extreme adjustments without considering the scene can lead to unnatural-looking images. For example, brightening a photo too much can wash out highlights and reduce contrast, while darkening it excessively can hide important details in the shadows. Subtle changes are often more effective.
Relying too heavily on exposure compensation without checking your camera’s metering mode can also cause issues. If your metering mode is set to evaluate the entire scene, it might not prioritize your subject correctly. For instance, when shooting a bird against a bright sky, spot metering on the bird might give better results than broadly adjusting exposure compensation.
Lastly, some photographers use exposure compensation as a substitute for understanding the basics of exposure. While it’s a convenient tool, it works best when combined with a solid grasp of how aperture, shutter speed, and ISO interact. Neglecting these fundamentals can limit your ability to adapt to complex lighting conditions.
Avoiding these mistakes comes down to awareness and practice. Always review your images after making adjustments, pay attention to your camera settings, and take the time to learn how exposure compensation fits into the broader framework of photography.