Landscape photography without a tripod gives you the freedom to move, respond quickly to changing conditions, and explore creative angles. Mastering this skill means learning to handle your camera confidently, make the most of natural light, and adapt to challenges. This guide will help you take sharper, more dynamic landscape photos while embracing the flexibility of shooting handheld.
Essential gear for handheld landscape photography
To capture great handheld landscapes, it’s important to have gear that supports flexibility and helps you minimize camera shake. Here’s what you need to get started:
- Camera with stabilization features: A lightweight camera makes handheld shooting easier, especially on long hikes. Look for cameras with in-body image stabilization (IBIS). This feature reduces motion blur and keeps your photos sharp, even at slower shutter speeds. Many mirrorless cameras have IBIS, which works with any lens you use.
- Wide-angle lenses: They cover more of the scene and are easier to hold steady. Lenses with optical stabilization are even better, as they compensate for small hand movements. Fixed focal length (prime) lenses are lighter and often sharper than zooms, making them another great choice.
- Polarizing and ND filters: A polarizing filter can enhance colors, reduce glare, and bring out details in the sky and water. Neutral density (ND) filters let you experiment with long exposures, like smoothing out water or clouds, even without a tripod. Choose screw-on filters for convenience.
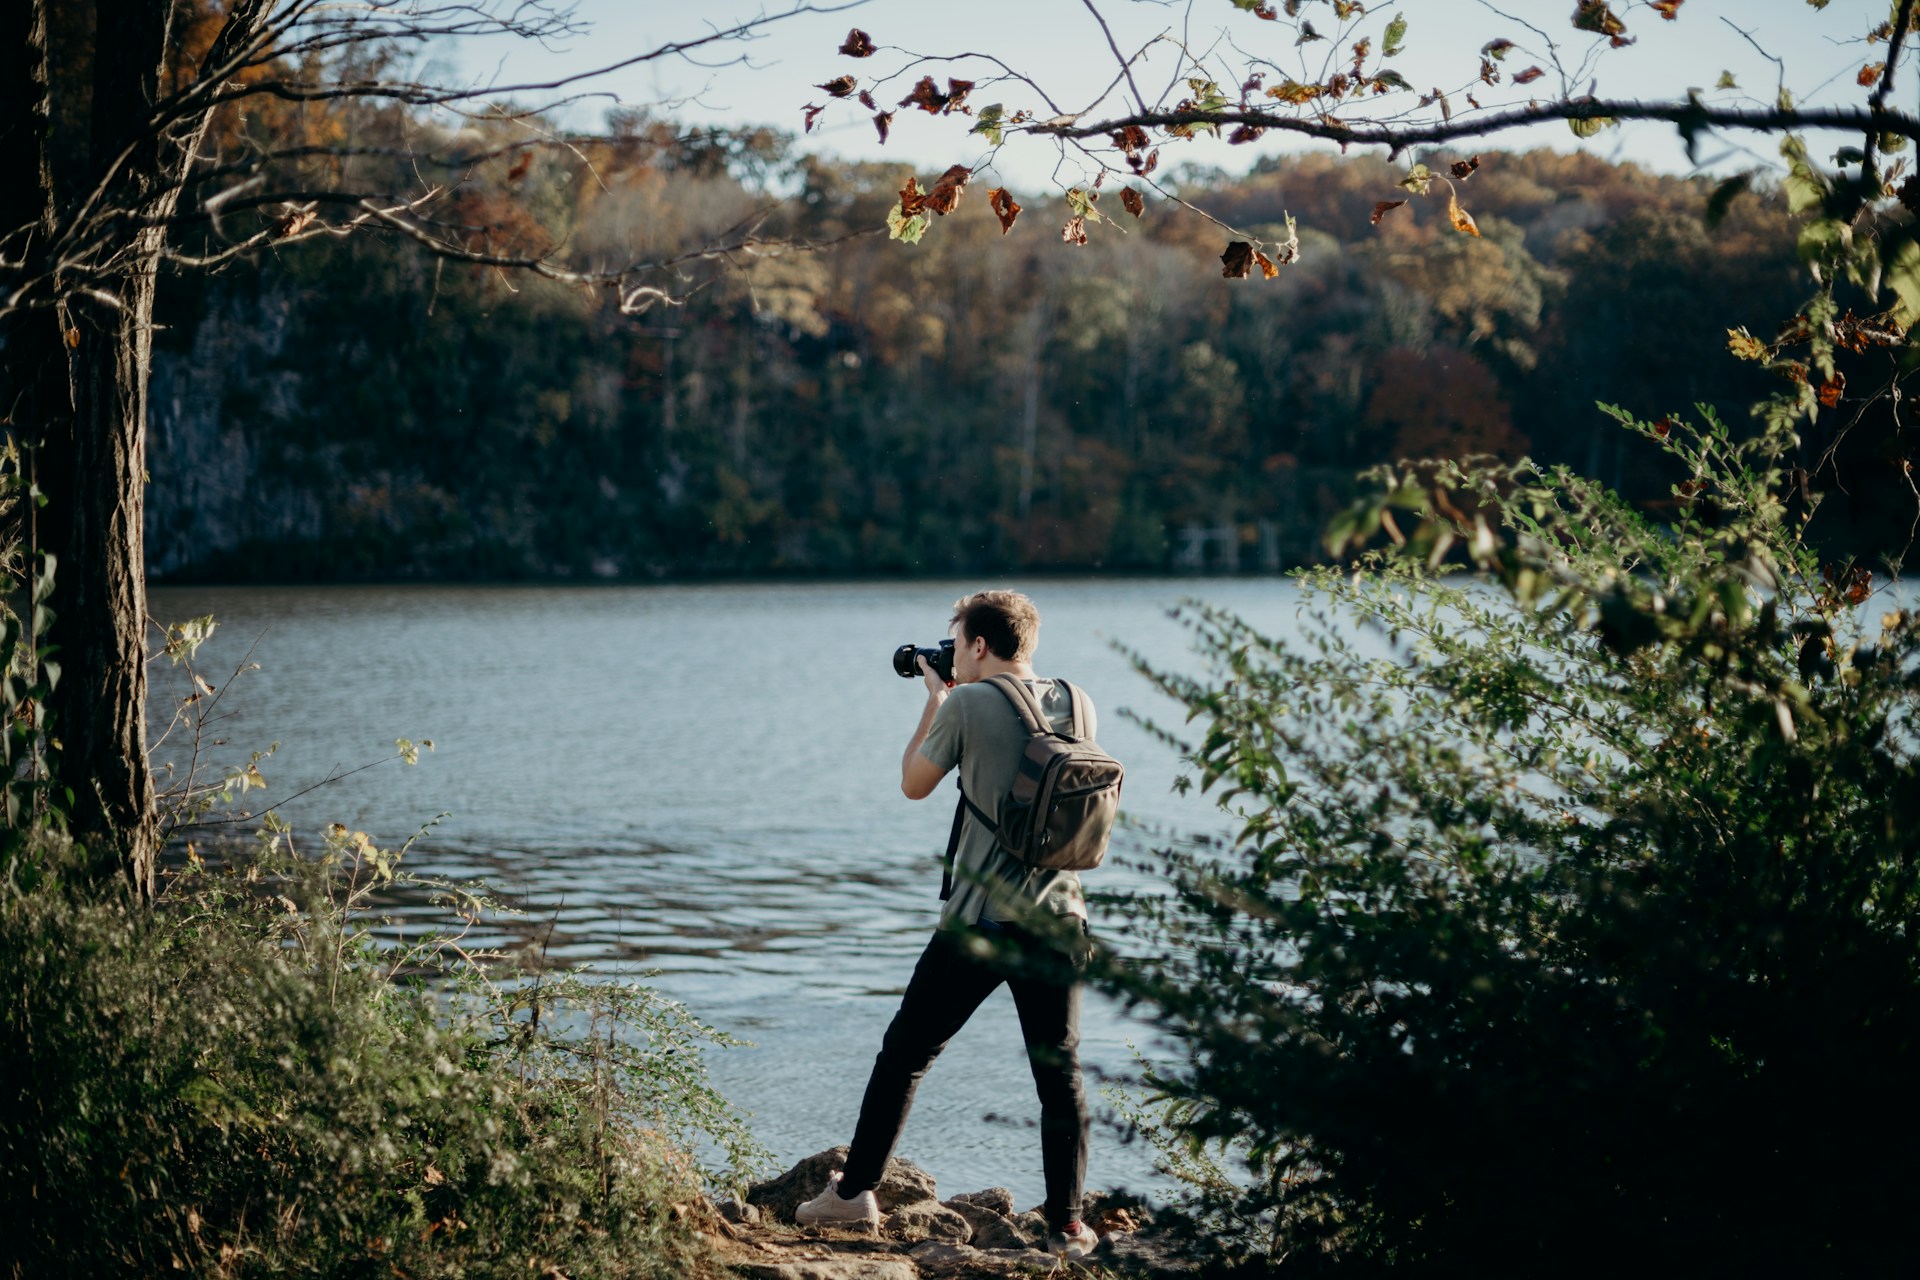
- Comfortable camera strap or harness: Carrying a camera for hours can strain your neck or shoulders. A crossbody strap or harness spreads the weight evenly, reducing fatigue. Wrist straps work well if you prefer keeping your setup minimal.
Lightweight and stabilized equipment allows you to explore angles and perspectives that might be impossible with a tripod. With the right tools, you can focus on the scene in front of you and capture the landscape in its purest form.
Understanding light and exposure
Without a tripod, you rely on faster shutter speeds to keep your shots sharp, which means you need to adapt quickly to the available light and make smart decisions about your camera settings.
To balance light and avoid blur, you need to control your exposure triangle: shutter speed, aperture, and ISO. For handheld shooting, the shutter speed should generally match or exceed the focal length of your lens.
For example, if you’re using a 35mm lens, aim for a shutter speed of at least 1/35th of a second or faster. If your lens or camera has stabilization, you can often push this lower, but faster speeds reduce the risk of motion blur.
Aperture affects your depth of field and how much light enters the lens. For landscapes, you’ll typically want a narrower aperture (higher f-number) to keep the scene in focus from front to back. However, narrow apertures let in less light, so you may need to compensate by raising your ISO or slowing your shutter speed.
Be mindful of ISO, as higher settings can introduce noise, especially in low-light situations. Modern cameras handle higher ISOs well, so don’t hesitate to adjust it if it means keeping your image sharp.
In challenging lighting, such as backlit scenes or areas with high contrast, use exposure compensation to fine-tune your image. This lets you adjust for overly bright or dark areas while maintaining overall balance. Shooting in RAW format is also a good practice, as it gives you more flexibility to recover details from shadows and highlights during editing.
Techniques for sharp handheld shots
Handheld shooting gives you freedom, but it also demands steady hands and precise techniques to avoid blurry photos. These practical tips will help you capture sharp landscapes even without a tripod.
- Master your handholding technique: Hold the camera firmly with your right hand on the grip and your left hand supporting the lens. Tuck your elbows into your body for extra stability. This minimizes movement and helps you hold the camera steady.
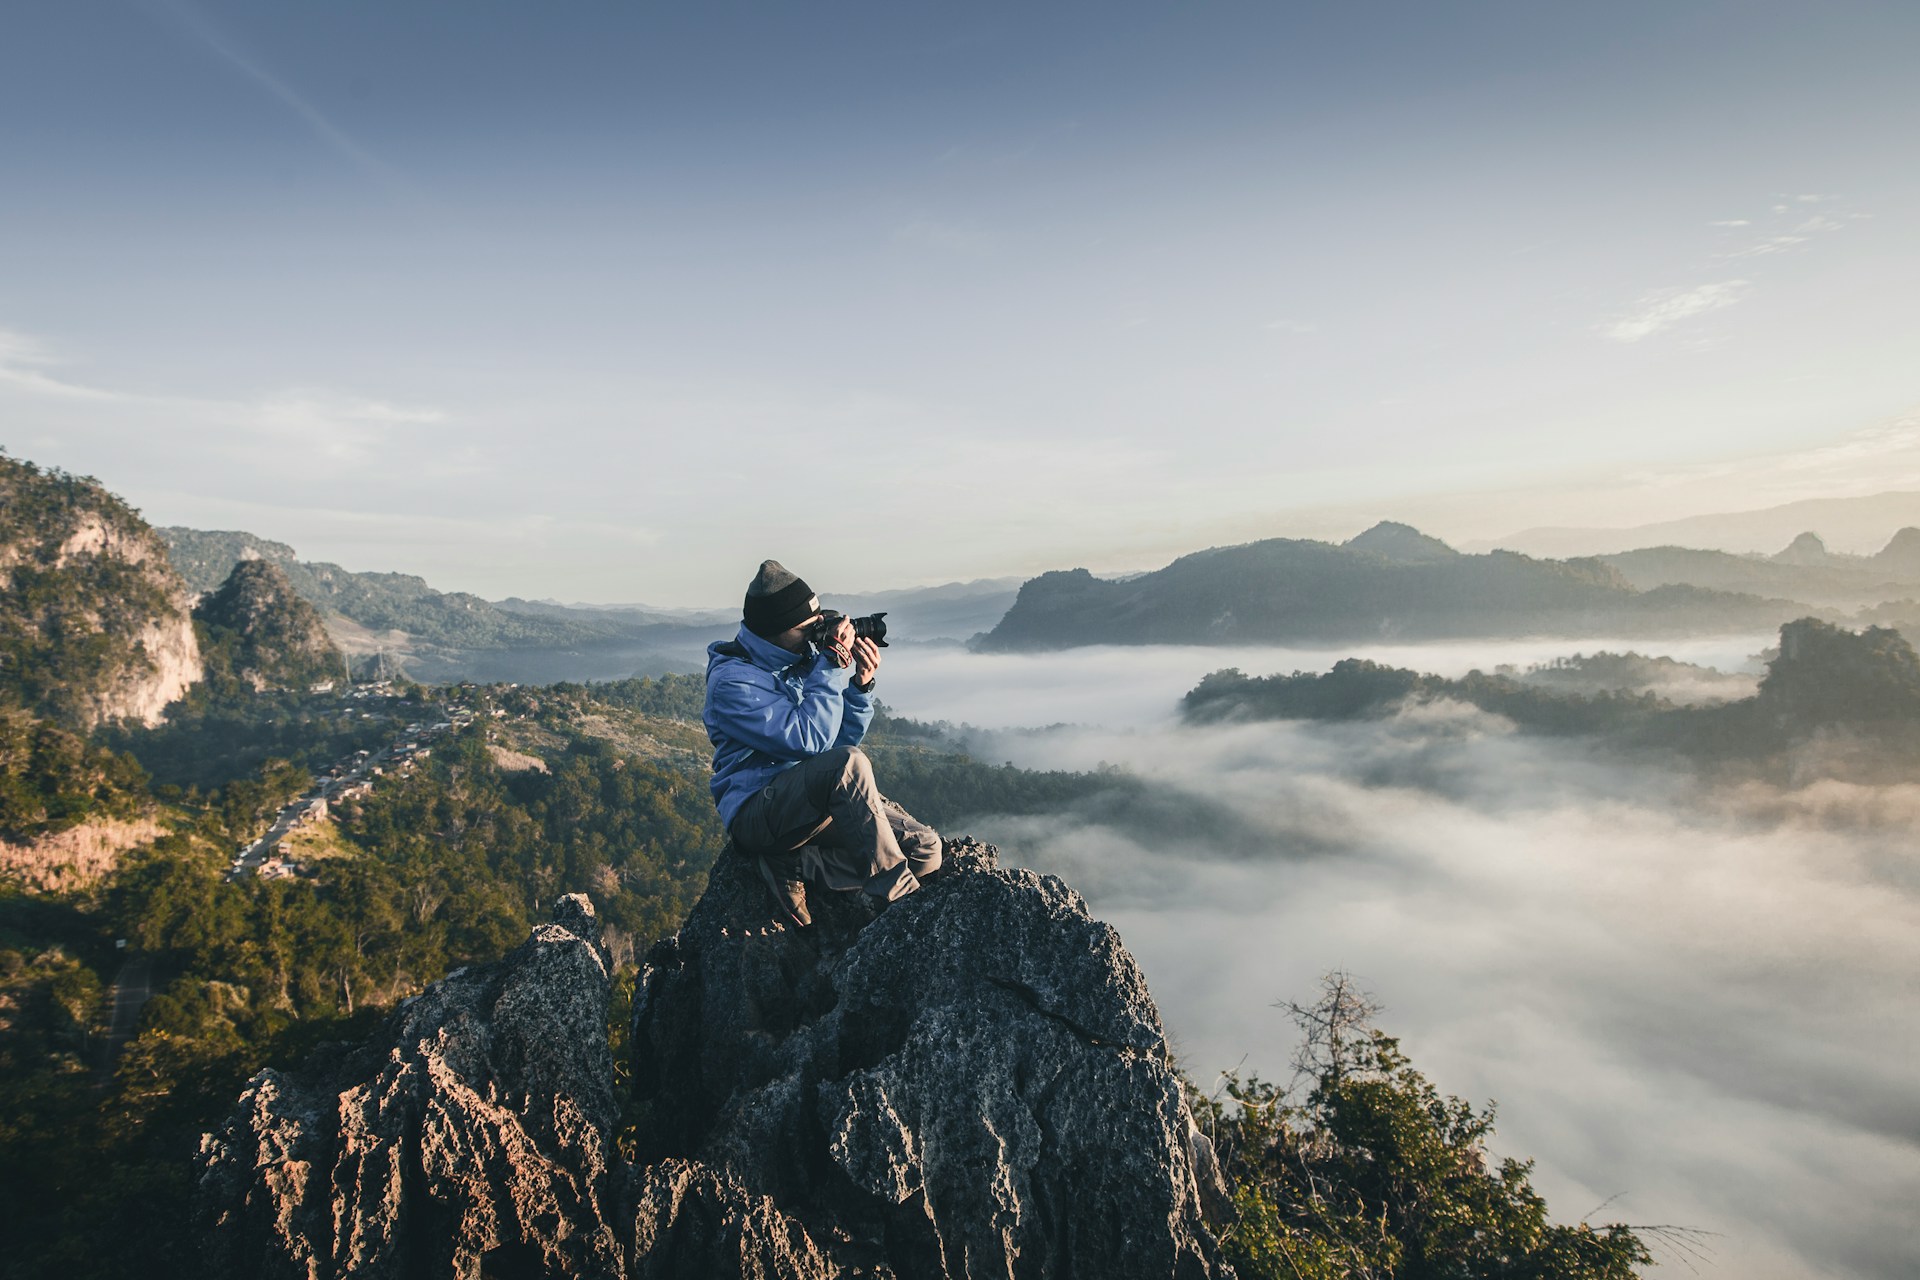
- Use your body as a stabilizer: Stand with your feet shoulder-width apart for balance. If possible, lean against a solid object like a tree or a rock to reduce sway. For lower angles, kneeling or sitting with your elbows resting on your knees provides additional support.
- Control your breathing: Breathing can cause slight movements that affect sharpness. Take a deep breath, exhale slowly, and press the shutter button at the end of your exhale. This minimizes the risk of unintended movement while taking the shot.
- Enable image stabilization: If your camera or lens has stabilization, make sure it’s turned on. This feature compensates for minor hand movements, allowing you to shoot at slower shutter speeds without losing sharpness.
- Use continuous shooting mode: Taking multiple shots in quick succession increases your chances of capturing a sharp image. Even if your hands move slightly between frames, you’re likely to get at least one perfect shot.
- Focus carefully: Use single-point autofocus and place the focus point on a critical part of the scene, like a prominent foreground element. This ensures the most important part of your photo is sharp.
- Leverage natural supports: When available, use objects around you to steady your camera. Resting your hands on a rock, placing your camera on a backpack, or even using a tree branch as a makeshift monopod can help stabilize your shot.
Sharp handheld shots come from a combination of good technique, smart settings, and using your environment to your advantage. By practicing these methods and staying mindful of your body and surroundings, you’ll develop a steadier hand and more confidence in capturing landscapes.
Overcoming challenges
Low light is one of the most common challenges. Without a tripod, slower shutter speeds can cause blur. To counter this, increase your ISO to maintain a faster shutter speed. Use wide apertures to let in more light, and make the most of your camera or lens’s stabilization features to keep the shot steady.
Harsh weather can make handheld shooting tricky, especially when wind, rain, or cold temperatures affect your grip or visibility. In windy conditions, use your body to shield the camera and tuck your arms in close for stability.
Uneven terrain can also pose difficulties. Finding stable footing is essential to keep your shots steady. Take your time to plant your feet securely and consider leaning against a solid object for extra support.
Physical fatigue from carrying gear and shooting for extended periods can also affect your technique. Keep your setup lightweight to reduce strain. Take short breaks to rest your hands and shoulders, especially during long hikes or busy shooting sessions.
Overcoming these challenges requires preparation, adaptability, and patience. Each obstacle is an opportunity to refine your skills and grow as a nature photographer.