Photographing birds in flight is both exciting and challenging. It requires quick reflexes, a good understanding of your camera, and some knowledge of bird behavior. This guide will help you capture sharp, dynamic images of birds in motion, covering everything you need to know to get started
Learning bird behavior
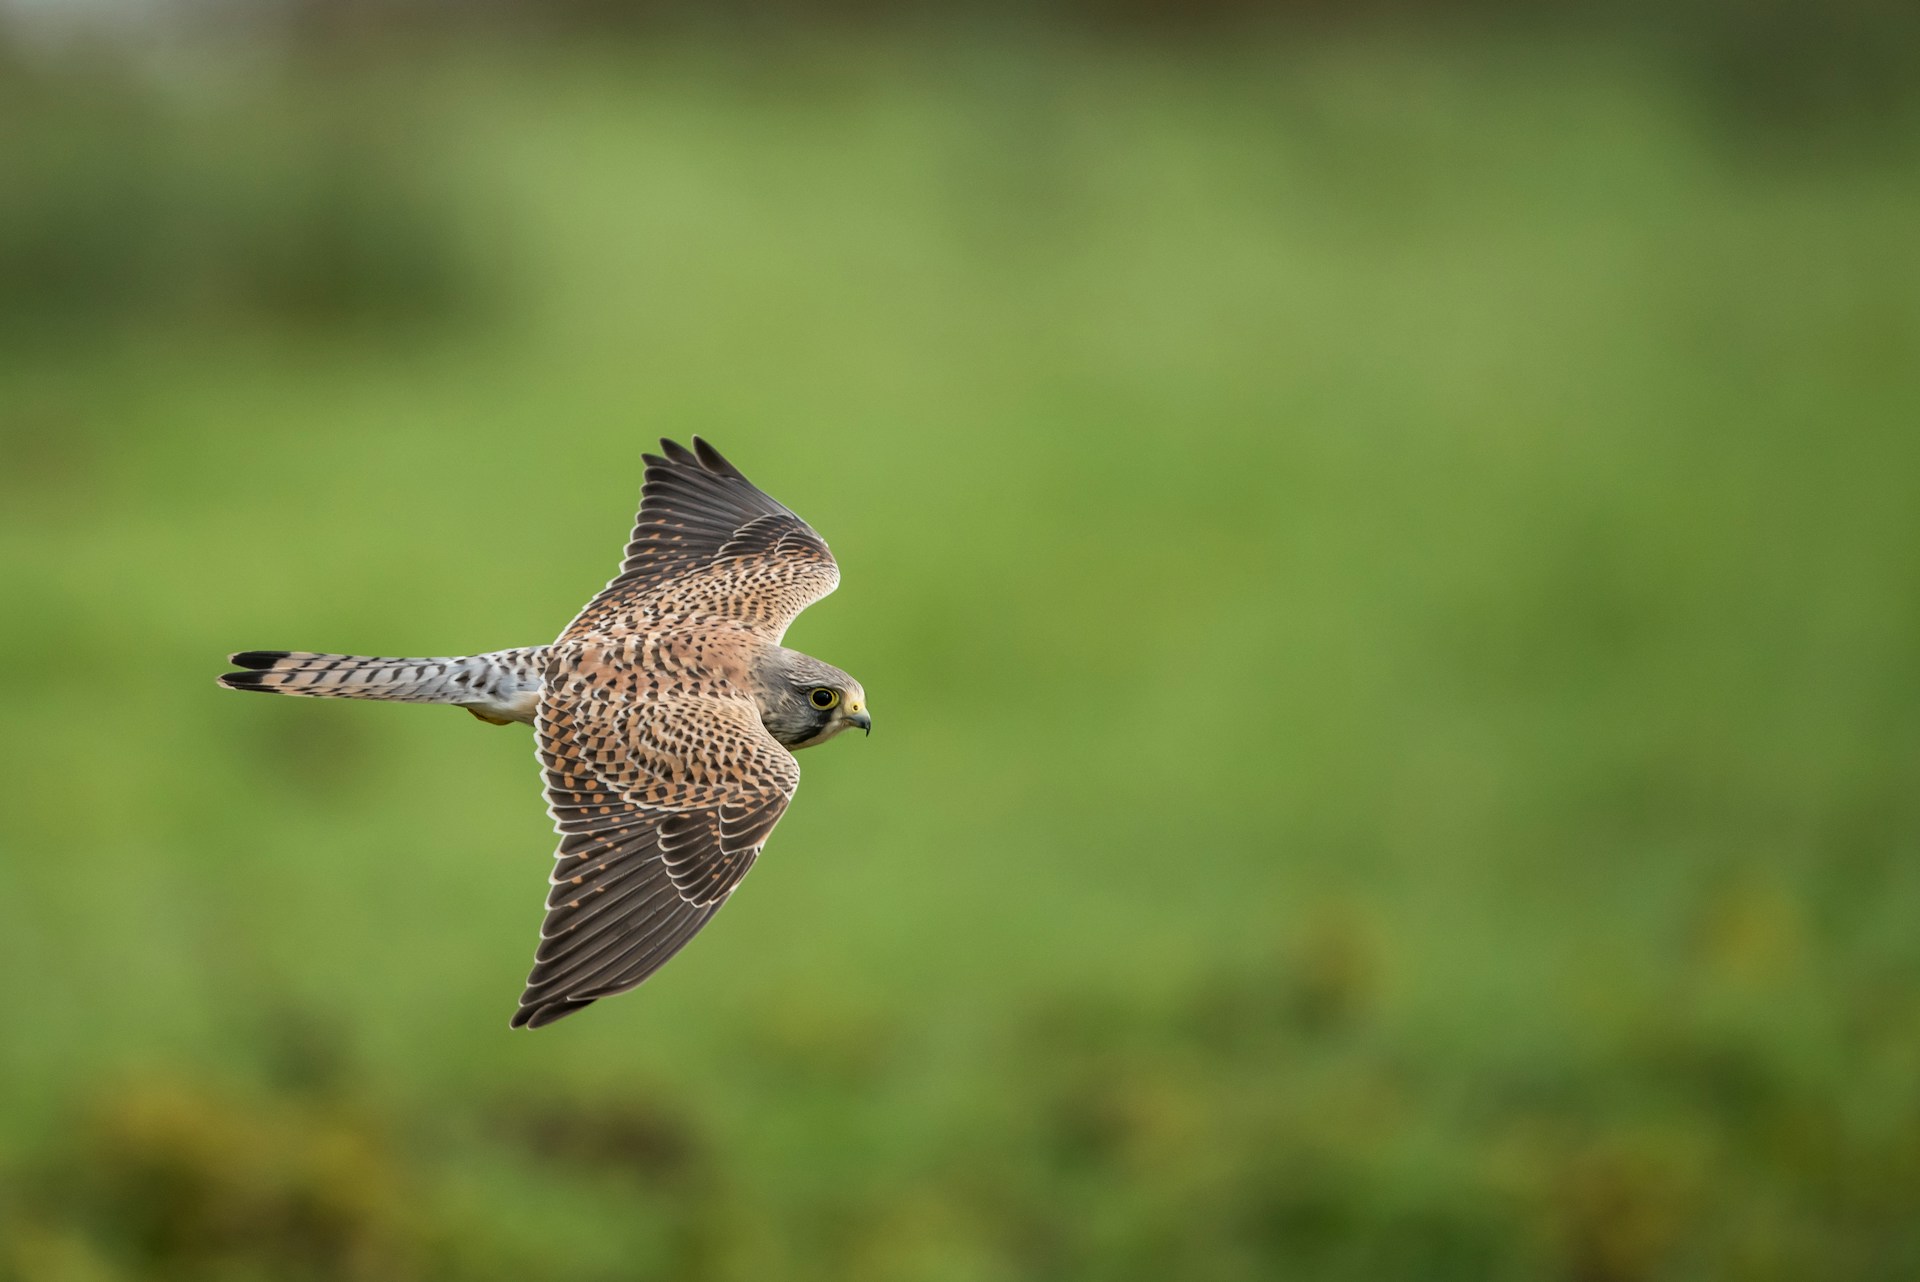
Birds don’t fly randomly—they follow patterns based on their species, habitat, and daily routines. Taking the time to observe their habits can give you an edge. Watch how they move, when they take off, and how they land.
Some birds flap their wings quickly, while others glide gracefully. Knowing these details can help you anticipate their movements and be ready with your camera.
Timing is also important. Many birds are most active early in the morning and late in the afternoon. These times, known as the “golden hours,” not only give you soft, flattering light but also better chances to see birds in action. Pay attention to where they perch, as birds often return to the same spot after flying.
Another key is understanding their environment. Birds tend to fly in certain areas, like near water, open fields, or forest edges, depending on the species. Researching local birds and their habitats can save you time and help you plan where to set up.
Essential gear and settings
Having the right gear and settings is critical for capturing sharp, detailed images of birds in flight. Fast action requires gear that can keep up and settings that help you freeze the moment without losing quality. Here’s what you need to know:
Camera and lens recommendations
Use a DSLR or mirrorless camera with fast autofocus and a high frame rate. Models with good continuous shooting capabilities (10+ frames per second) make it easier to catch action shots.
A telephoto lens is essential. A 300mm or 400mm lens works well for most birds, while larger birds may require less reach. Zoom lenses like 100-400mm provide flexibility for tracking moving subjects.
Settings for success
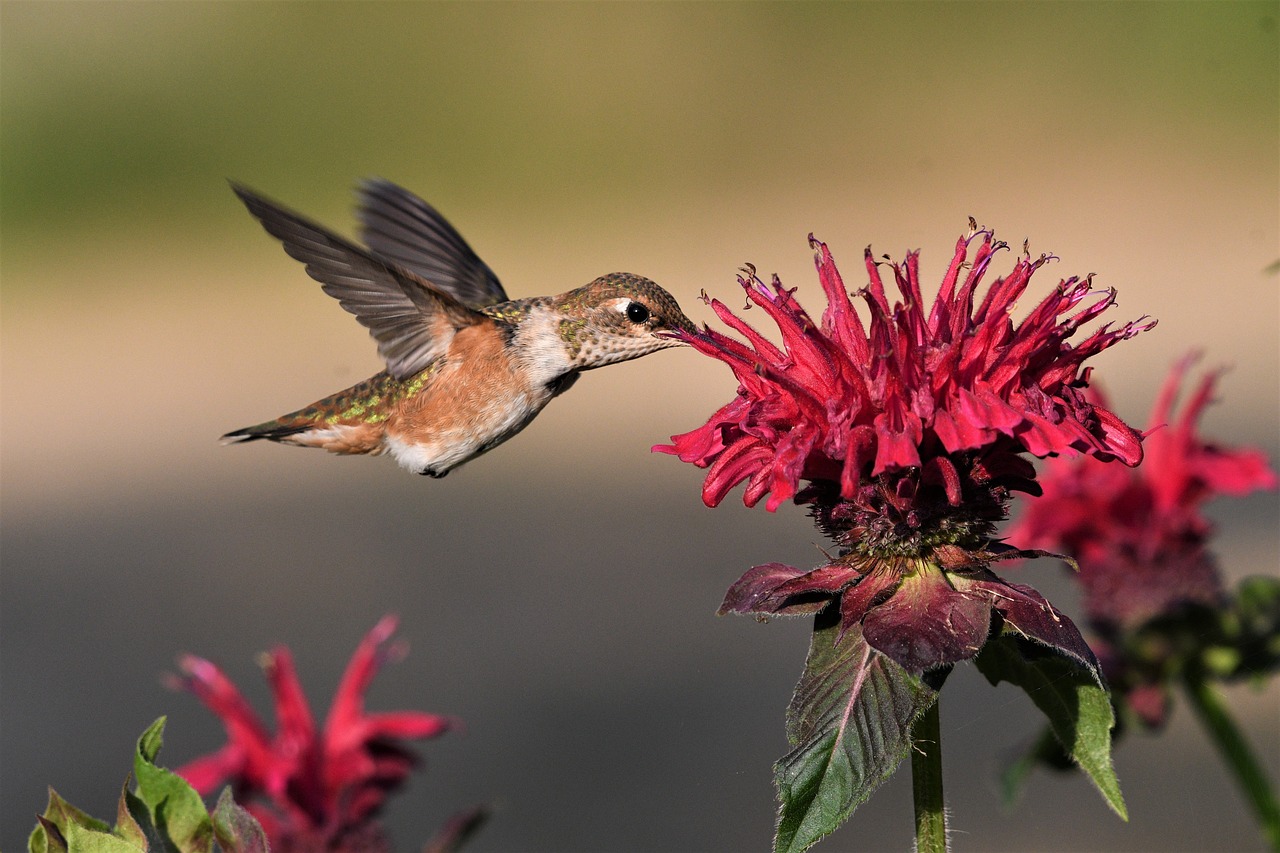
Set a fast shutter speed—1/1000s or faster—to freeze motion. For smaller, quicker birds, go as high as 1/2000s. Use a wide aperture (f/4 to f/6.3) to let in enough light while keeping the bird in focus and the background softly blurred.
Adjust the ISO based on lighting. Start with ISO 400 in good light and increase as needed in low light to maintain a fast shutter speed. Modern cameras handle higher ISO well, so don’t be afraid to push it.
Use continuous autofocus (AF-C or AI Servo) to track the bird as it moves. Select a dynamic or zone focus area to cover more of the frame and keep the bird in focus.
Accessories
A monopod or a gimbal head is invaluable for providing stability, particularly when using heavier telephoto lenses. These tools not only help you maintain a steady shot but also reduce the physical strain of holding your camera for extended periods.
A lens hood is another essential accessory. It minimizes glare caused by direct sunlight or other strong light sources, ensuring your images have better contrast and color. Additionally, it acts as a protective barrier, shielding your lens from accidental bumps, scratches, or even light rain.
Filters can also enhance your shots in certain situations. A polarizing filter is especially useful when shooting near water, as it reduces reflections and improves the clarity of your images.
Mastering techniques
One of the most important skills is tracking the bird as it flies. To do this effectively, keep both eyes open—one watching the bird’s path and the other on your camera’s viewfinder. This approach helps you stay aware of sudden changes in direction.
Panning, or smoothly moving the camera to follow the bird, is another critical skill. A steady hand and a smooth motion ensure the bird remains in focus and framed correctly. Practicing with fast-moving objects like cars or athletes can help you refine this technique.
Birds often signal their movements, such as by shifting their weight before takeoff or adjusting their wings mid-flight. Observing these cues can help you predict the best moments to capture.
Using your camera’s burst mode allows you to take multiple shots in quick succession, increasing your chances of getting a frame with perfect wing positioning or an interesting interaction with the environment.
Composition is just as important as technical skills. Give the bird space to "fly into" by positioning it off-center in the frame. Including elements like the horizon, trees, or water adds depth and context to your photo, making it more engaging.
Shooting from different angles, such as from below to emphasize the bird’s wingspan or against a colorful sunrise, can create unique and impactful images.
Lighting and environmental considerations
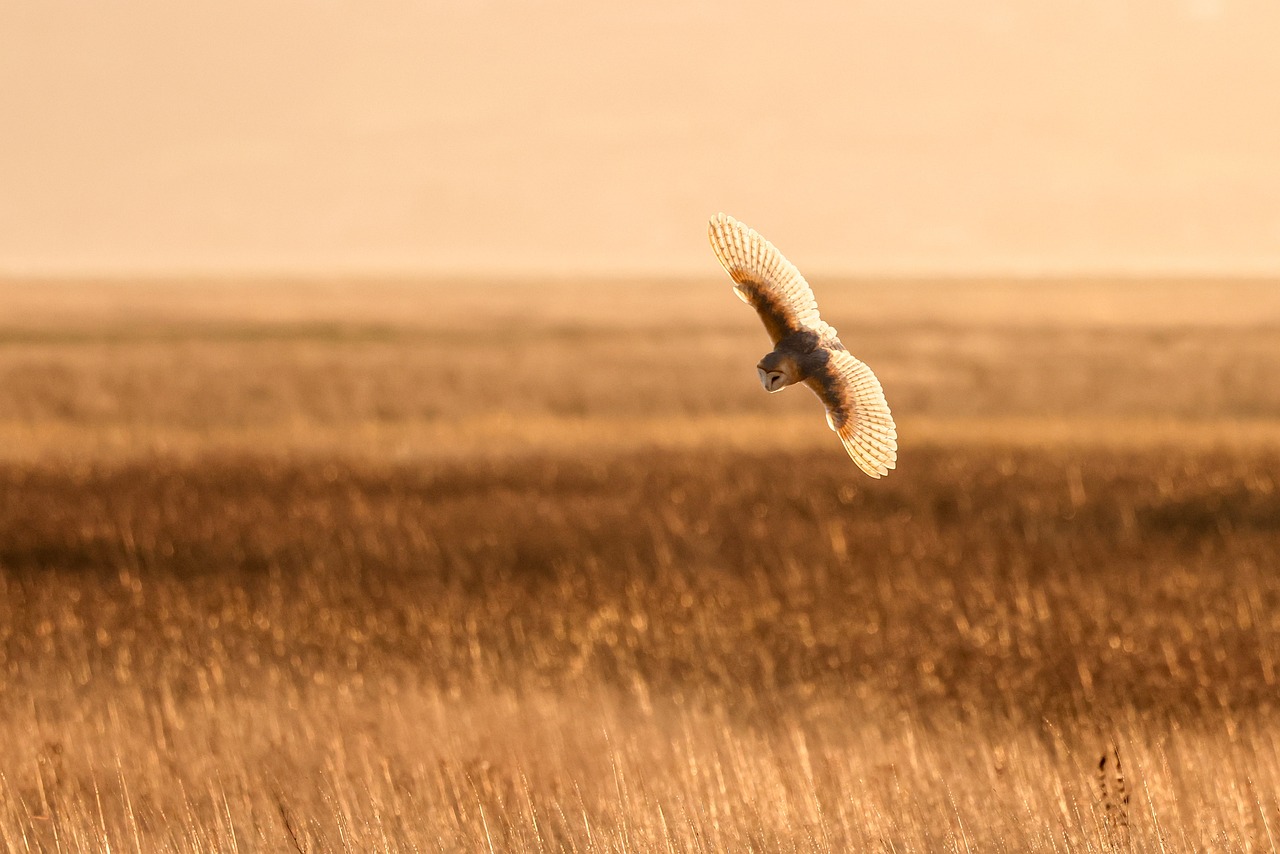
Positioning yourself relative to the light is key. Always aim to have the sun behind you to illuminate the bird fully. This helps bring out details in the plumage and prevents your subject from becoming a silhouette.
However, backlighting—where the sun is behind the bird—can create striking effects, such as glowing feathers or dramatic silhouettes, if used purposefully.
Environmental factors like weather and surroundings also affect your shots. Windy days can make birds more active, providing opportunities to capture dynamic flight movements.
Pay attention to how the wind affects their direction, as birds typically take off and land into the wind. Cloudy skies, while diffusing sunlight for even exposure, may require higher ISO settings to maintain fast shutter speeds.
The background is another critical element. A clean, uncluttered background like a clear blue sky keeps the focus on the bird. However, including natural elements such as trees, mountains, or water can add context and interest. Always be mindful of your surroundings to avoid distracting elements that could compete with your subject.