Forests and trees are full of photographic possibilities. Their towering trunks, shifting light, and rich textures offer endless inspiration, but capturing their essence can be tricky. This guide will help you navigate these challenges and make the most of every forest photography session.
Preparation and planning
Proper planning ensures you're ready for the environment and the challenges it presents. Here’s what to consider before you head out:
- Research locations: Choose forests that suit the type of photos you want. Are you looking for dense woods with tall trees or more open, lush forests? Research nearby parks, nature reserves, or local trails. Consider the specific elements that make a location unique, like water features or a rich diversity of trees.
- Best times to shoot: The lighting in forests changes throughout the day, so timing is key. Early mornings and late afternoons often offer the best light, while mid-day can be harsh, creating heavy shadows. Also, consider weather conditions: foggy or rainy days create a different atmosphere that can add depth and mood to your images.
- Essential gear: A camera with good dynamic range is essential to handle varying light. Use a wide-angle lens (16-35mm) for landscapes and a telephoto lens (70-200mm) for details. A tripod ensures stability for longer exposures, while a polarizing filter reduces reflections and enhances color. An ND filter helps control light during long exposures.
- Physical preparation: Forests can be tough terrain, so wear sturdy shoes, bring plenty of water, and pack snacks. It's also wise to carry a map or have a GPS to avoid getting lost. Be prepared for any weather, as conditions can change quickly in wooded areas.
- Time and patience: Forest photography often requires more time and patience. You’ll need to move slowly, wait for the right lighting, and look for compositions that may not be immediately obvious. Keep an open mind and allow yourself the flexibility to explore.
Beyond the gear and planning, it’s about being in tune with the environment. Take time to experiment with different perspectives, and don’t be afraid to step off the beaten path. Each forest has its own story to tell, and by being present and observant, you can uncover unique compositions that others may overlook.
Working with light in forests
Light in forests can be challenging but rewarding when used well. The canopy often filters sunlight, creating a mix of shadows and highlights. This contrast can add depth to your photos, but it can also make exposures tricky. Overcast days are ideal because soft, even light reduces harsh shadows and helps bring out the natural colors and details.
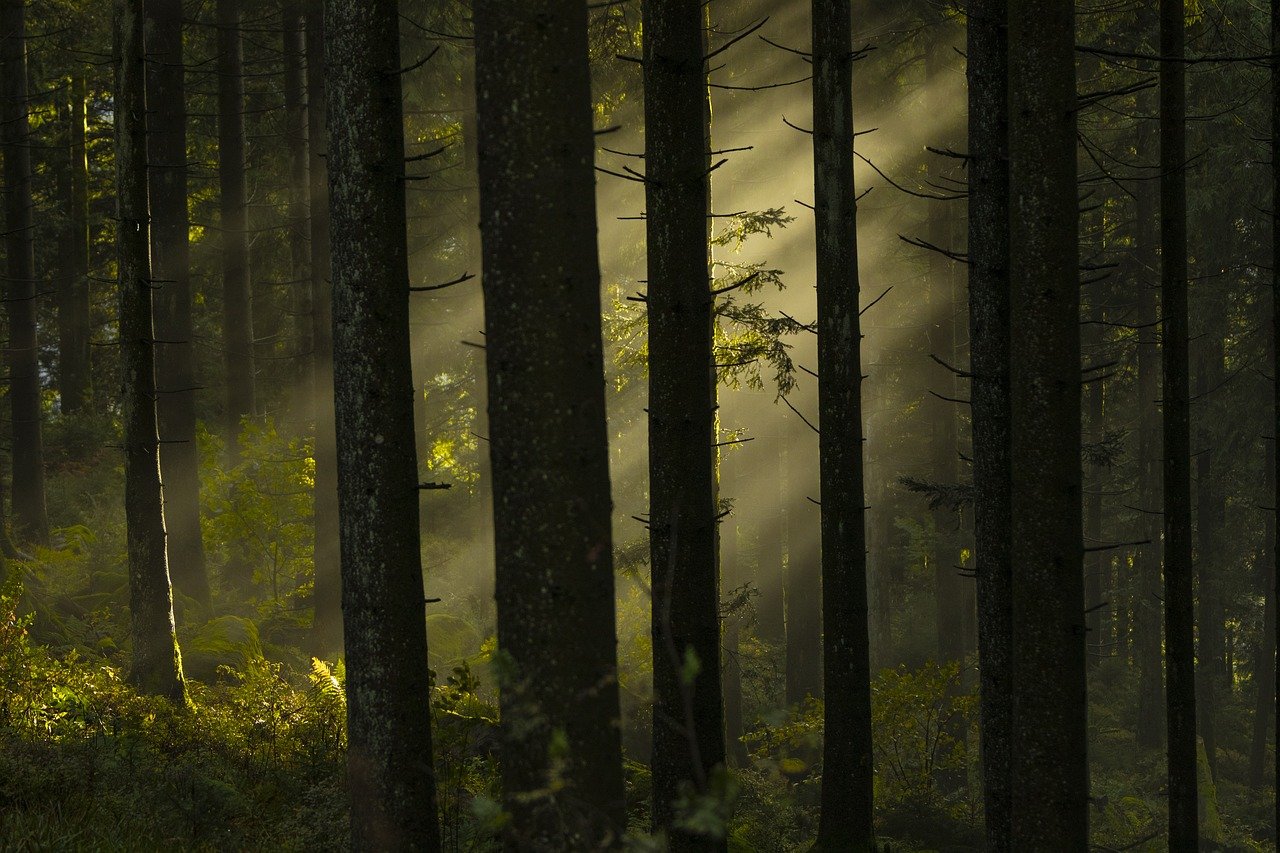
Early mornings and late afternoons are great times to shoot. Low-angle sunlight creates long shadows and warm tones, adding mood to your photos. Morning mist or fog can soften the light further, creating a dreamlike atmosphere that’s perfect for forest scenes.
Backlighting works well for highlighting details like leaves or branches. Position yourself so the sun is behind the subject, and adjust your settings to capture the glow of light shining through. This technique also works beautifully during golden hour when the light is warm and soft.
Dappled sunlight—where light filters through leaves—can create striking patterns but requires careful exposure. Use spot metering to ensure the highlights are properly exposed, and watch for distracting bright spots that might pull attention away from your subject.
Finally, remember that shadows are just as important as light. Shadows add texture and depth, especially in forests where they often dominate. Instead of avoiding them, look for ways to include them in your compositions to create balance and interest.
Composition techinques
With so many elements vying for attention, it’s crucial to focus on composition to guide the viewer’s eye. Here are some techniques to help you create balanced and engaging photos.
- Find a focal point: In a forest, it’s easy to get overwhelmed by the dense surroundings. Look for a specific tree, an interesting branch, or a patch of light that stands out. This focal point will act as the anchor of your image, giving it structure and purpose.
- Use leading lines: Forests offer natural lines in the form of trails, tree trunks, or light beams. These lines can draw the viewer’s eye into the scene and create a sense of depth. Use them to guide the viewer's gaze toward your focal point or into the forest itself.
- Frame with trees and foliage: Forests are full of natural frames. Use branches or tree trunks to frame your subject, drawing attention to it while isolating it from the rest of the scene. This technique can also add a sense of intimacy to a wide, open space.
- Play with depth: Create layers in your photos by incorporating elements in the foreground, middle ground, and background. This adds dimension and makes the image feel more immersive. Look for interesting textures or contrasts in the different layers to enhance the depth.
- Work with negative space: Sometimes, leaving empty space around your subject can create a sense of isolation or emphasize its importance. In forest settings, using negative space can make your focal point stand out more, particularly in minimalist compositions.
- Symmetry and patterns: Look for patterns in the arrangement of leaves, branches, or tree trunks. Forests often have a natural symmetry that, when captured right, can create visually striking images. Symmetry doesn’t always have to be perfect—sometimes subtle variations can make a composition more dynamic.
- Incorporate the sky: If the canopy is sparse or if you’re shooting from an open area in the forest, the sky can be an important part of your composition. A wide expanse of sky can contrast with the dense trees, adding balance to your image and giving a sense of scale.
Composition isn’t just about rules; it’s about how you choose to tell a story through the scene in front of you. Keep experimenting, and over time, your ability to create engaging and balanced images will improve.
Capturing the details
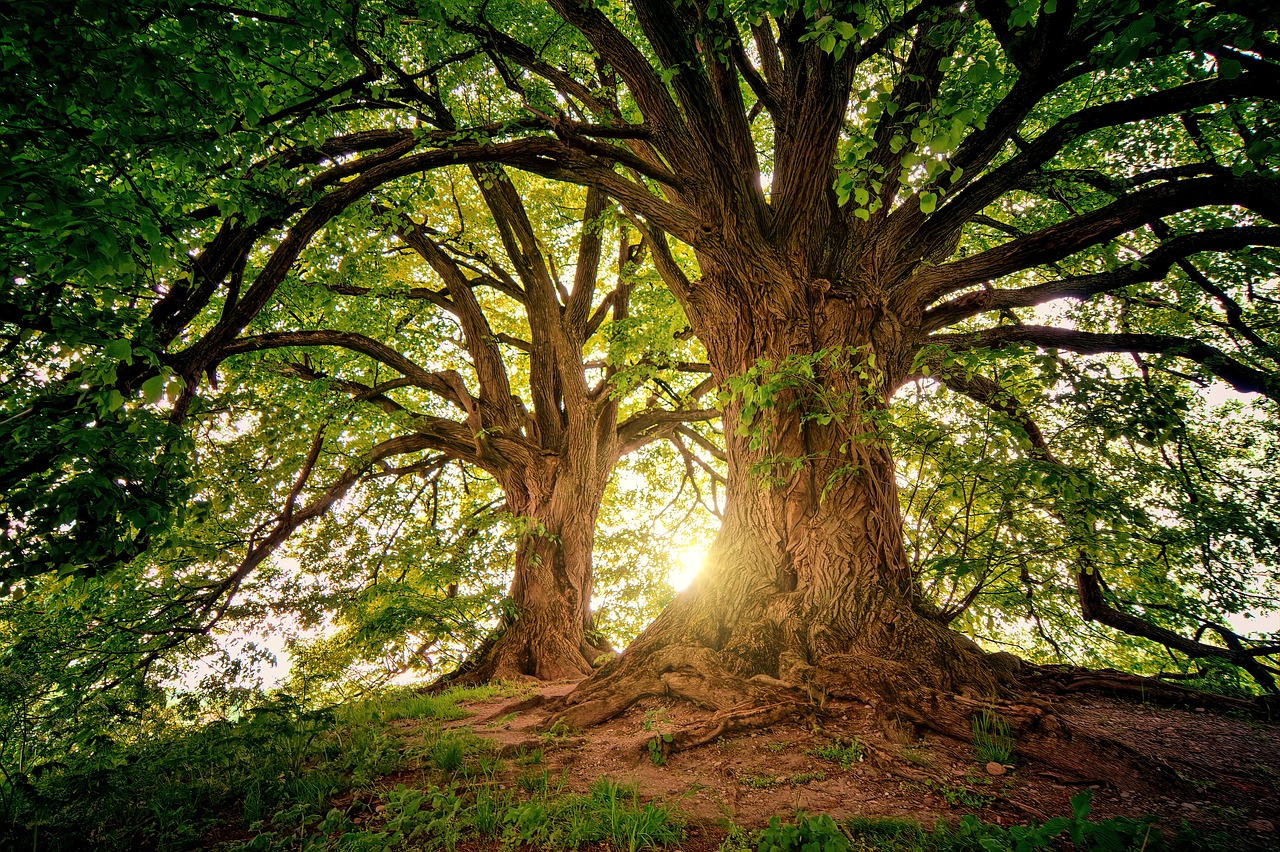
Start by getting close to the ground and observing textures and patterns that might not be visible at a distance. The bark of a tree, the veins on a leaf, or the delicate web of moss can all offer rich, compelling images.
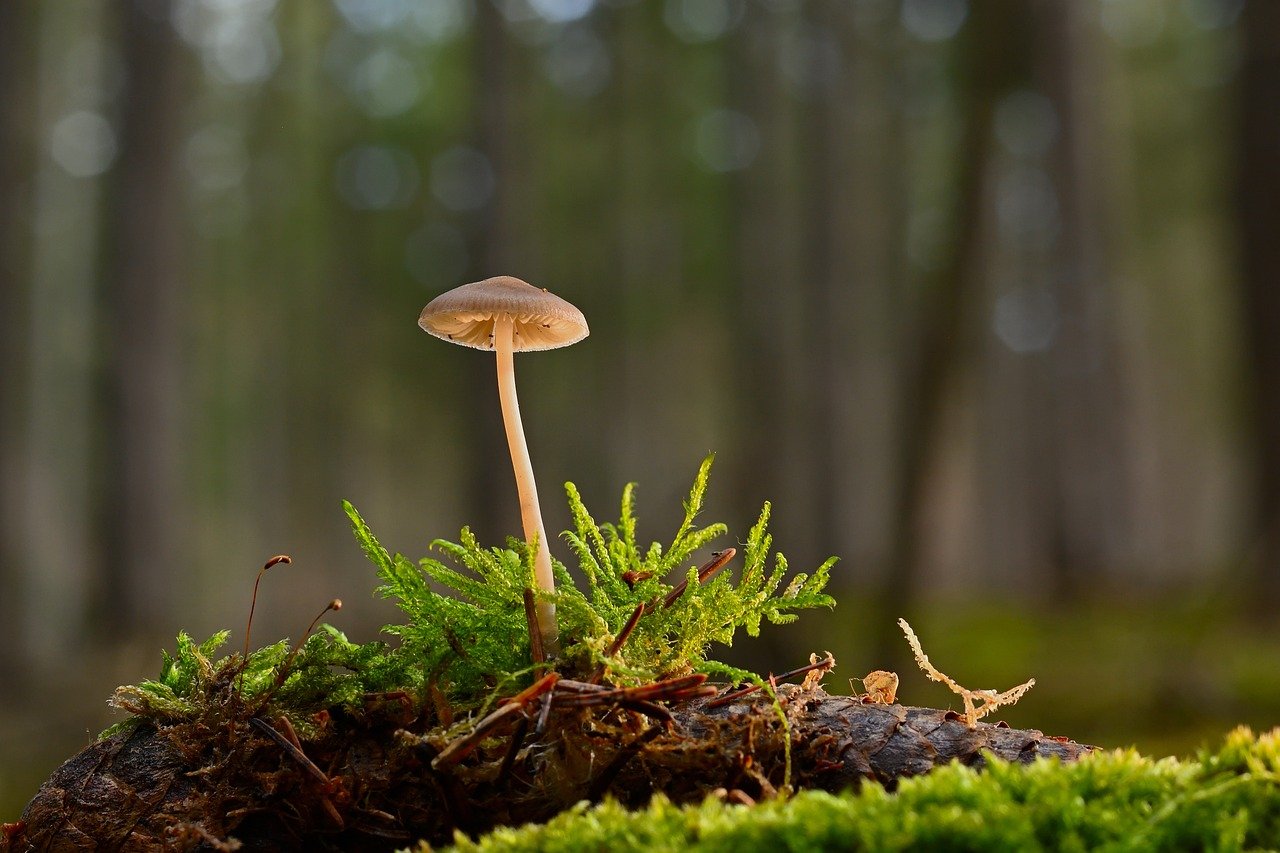
Macro photography is especially rewarding in forests. The intricate patterns on the bark, the way sunlight filters through droplets of dew on a leaf, or the fine details of fungi growing on the forest floor all have their own unique appeal. These close-up shots often reveal a world within the world of the forest, full of life and texture that can’t be seen at first glance.
Don’t overlook seasonal changes either. Each time of year brings out different details in the forest. In the fall, vibrant colors and fallen leaves create a rich tapestry, while winter frost or snow-covered branches offer stark beauty.
In spring, new buds and fresh green growth bring energy to the scene. Even in the quiet of winter, details like icicles hanging from branches or the texture of frost on leaves can create striking images.
By focusing on these details, you give your viewer a chance to see the forest from a different perspective. It’s easy to get caught up in the larger scene, but taking the time to observe and photograph the smaller elements can add depth and variety to your work.
Dynamic landscapes
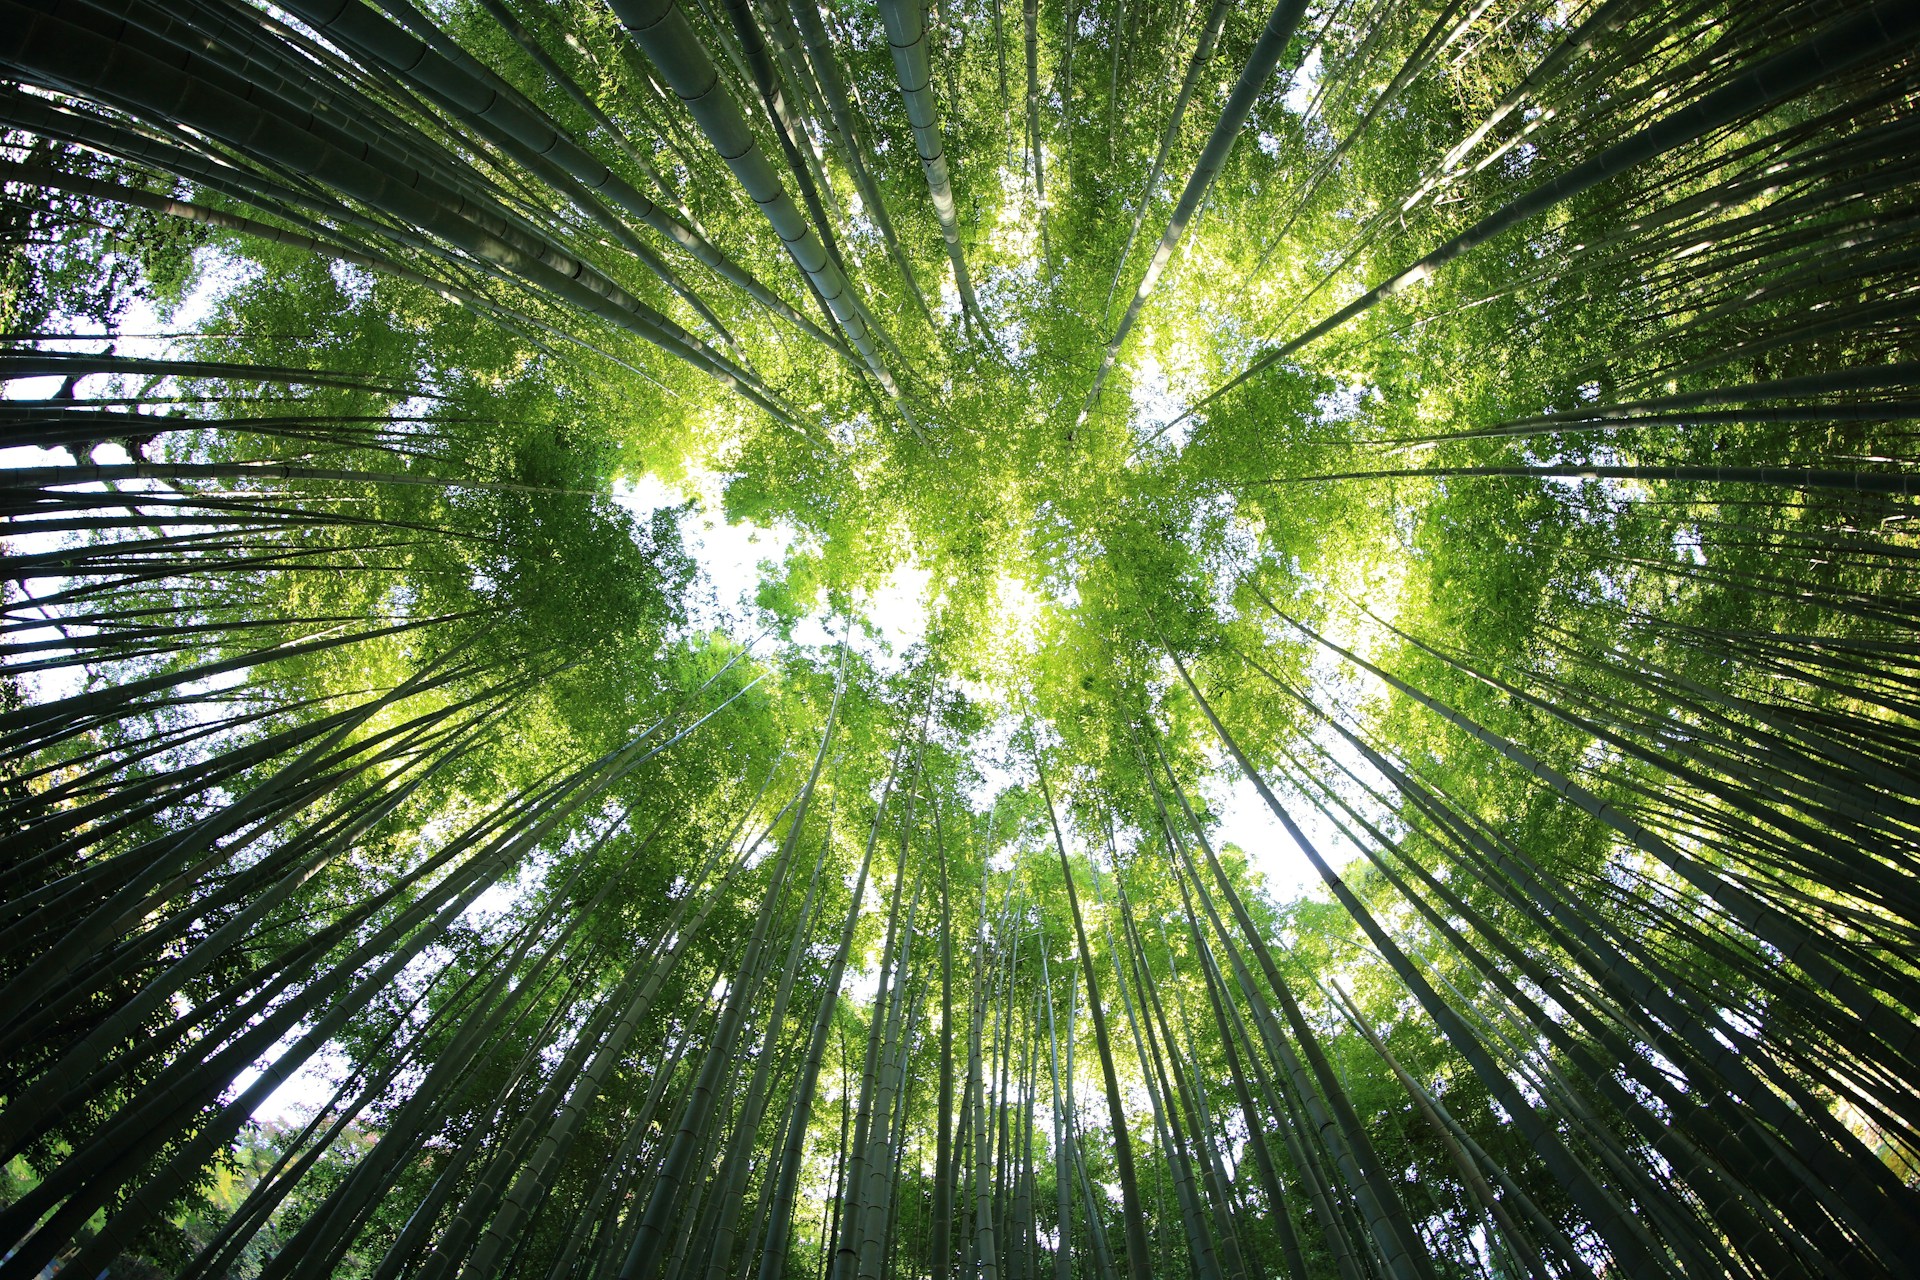
To convey the power and grandeur of a forest, you need to think beyond individual trees and focus on how everything fits together in the landscape. A wide-angle lens (16-35mm) is your best tool for this type of shot, allowing you to capture expansive views without losing the details that make the scene unique.
When shooting a dynamic landscape, look for areas where the trees create a sense of rhythm or pattern, such as rows of tall trunks or clusters of varying tree types. These patterns help guide the viewer’s eye through the image.
You can also use the forest’s natural features, like a stream or a path, to lead the viewer deeper into the scene, creating a sense of journey and movement.
Consider framing your shot vertically to emphasize the height of trees and the vastness of the forest. A vertical composition pulls the viewer's attention upward and can convey the towering presence of the trees, while horizontal compositions often work better for capturing wide, sweeping views of the landscape.
Another way to make a landscape feel dynamic is to include elements in motion, like wind moving through the leaves or clouds drifting across the sky. This adds life to the shot and can make the forest feel more alive, especially when paired with a slower shutter speed to capture the motion in a way that’s both natural and artistic.
In these wide landscape shots, it’s important to think about balance. Avoid clutter and distractions in the foreground, and give your subject—whether it’s a cluster of trees, a mountain peak, or a river—room to breathe within the composition.
Post-processing tips
While capturing the perfect shot is important, editing helps you bring out the details and mood you want to highlight. Here are some tips to enhance your forest images while maintaining a natural feel.
- Adjust exposure and contrast: Forests often have a wide range of light and dark areas, making it important to fine-tune the exposure. Increase contrast to add depth and richness to your images, but be careful not to lose details in the shadows or highlights. Use local adjustments to brighten dark areas or tone down overly bright spots.
- Enhance colors: Forests are filled with various greens, browns, and other subtle hues. Increase vibrance to make these colors pop, but don’t go overboard. You want the colors to look natural. If your image is too green, try reducing the saturation of greens specifically or adjusting the white balance to bring out more warmth in the scene.
- Correct white balance: Forests can have a variety of light sources, and sometimes the colors can look unnatural. Adjust the white balance to ensure the colors are true to life. If the image looks too cool, warm it up slightly; if it's too warm, cool it down a bit. A natural white balance will help the photo feel more grounded and lifelike.
- Sharpen the image: While you want to maintain a natural look, sharpness can help bring out the textures of the trees, leaves, and forest floor. Use subtle sharpening tools, especially for details like bark, branches, or grass. Avoid over-sharpening, as it can introduce noise and make the image feel harsh.
- Remove distractions: Forests can be cluttered with branches, debris, or distracting elements. Use tools to remove any distractions from the background or foreground that take away from the main subject. This helps the viewer focus on the primary elements of your composition.
- Noise reduction: In dense, shadowed areas of a forest, noise can become an issue, especially when shooting at high ISO levels. Use noise reduction tools to clean up the shadows while retaining details. Don’t go overboard, as too much noise reduction can blur fine textures.
- Dodge and burn: Use dodge and burn techniques to lighten or darken specific areas of your image. This can help guide the viewer’s eye to the focal points or add depth to shadows. Use a soft brush and subtle adjustments to maintain a natural look.
Post-processing is about refining your forest images while keeping them true to the natural beauty of the scene. The key is to make sure the final image feels authentic and respects the mood you experienced while shooting.
Creative techniques
One of the simplest yet most effective ways to add creativity is by incorporating long exposure. This technique works well in forests with moving elements like water or wind, allowing you to blur motion while keeping static elements sharp. For example, a flowing stream or swaying branches can create a sense of fluidity, contrasting against the stillness of the trees.
Another powerful technique is selective focus. Instead of capturing the entire scene in sharp detail, choose a specific part of the frame to emphasize. A shallow depth of field can isolate a single leaf, a moss-covered rock, or a tree trunk, making it stand out against a blurred background.
This approach works particularly well in dense forests where the chaos of detail can otherwise distract from your subject. It draws the viewer’s attention directly to the focal point and enhances the mood you want to convey.
Reflections in water are another creative element to consider. Forests often have ponds, streams, or puddles that mirror the surrounding trees and sky. These reflections can add symmetry and interest to your composition.
To make the most of this, find still water that clearly reflects the trees or sky, and experiment with angles to create a balanced and striking composition. Reflections can also add a sense of tranquility or mystery, depending on how you frame the scene.
Lastly, intentional camera movement (ICM) is a creative technique that blurs the scene to evoke emotion or convey the energy of the forest. By slightly moving your camera during exposure, you can create a sense of motion and fluidity that contrasts with the stillness of individual elements.
This technique works best when capturing abstract forms like tree trunks or dense underbrush and can result in images that feel more artistic and expressive.